Can a Simple Yeast and Yogurt Face Mask Help Your Skin Look Smoother and Brighter?
That said, most evidence comes from lab studies or commercial formulations—not always direct DIY masks. Natural remedies like this one are supportive, not replacements for proven skincare. Consistency and pairing with good habits matter most.
But that’s not all… Many people notice subtle improvements with regular use, like softer texture and a healthy glow. The real key? Patience and realistic expectations.
How to Make and Use a Yeast and Yogurt Face Mask at Home
Ready to give it a try? This simple recipe uses basic ingredients and takes just minutes to prepare. It’s suitable for most skin types, but always patch-test first.
Step-by-Step Guide to the Mask
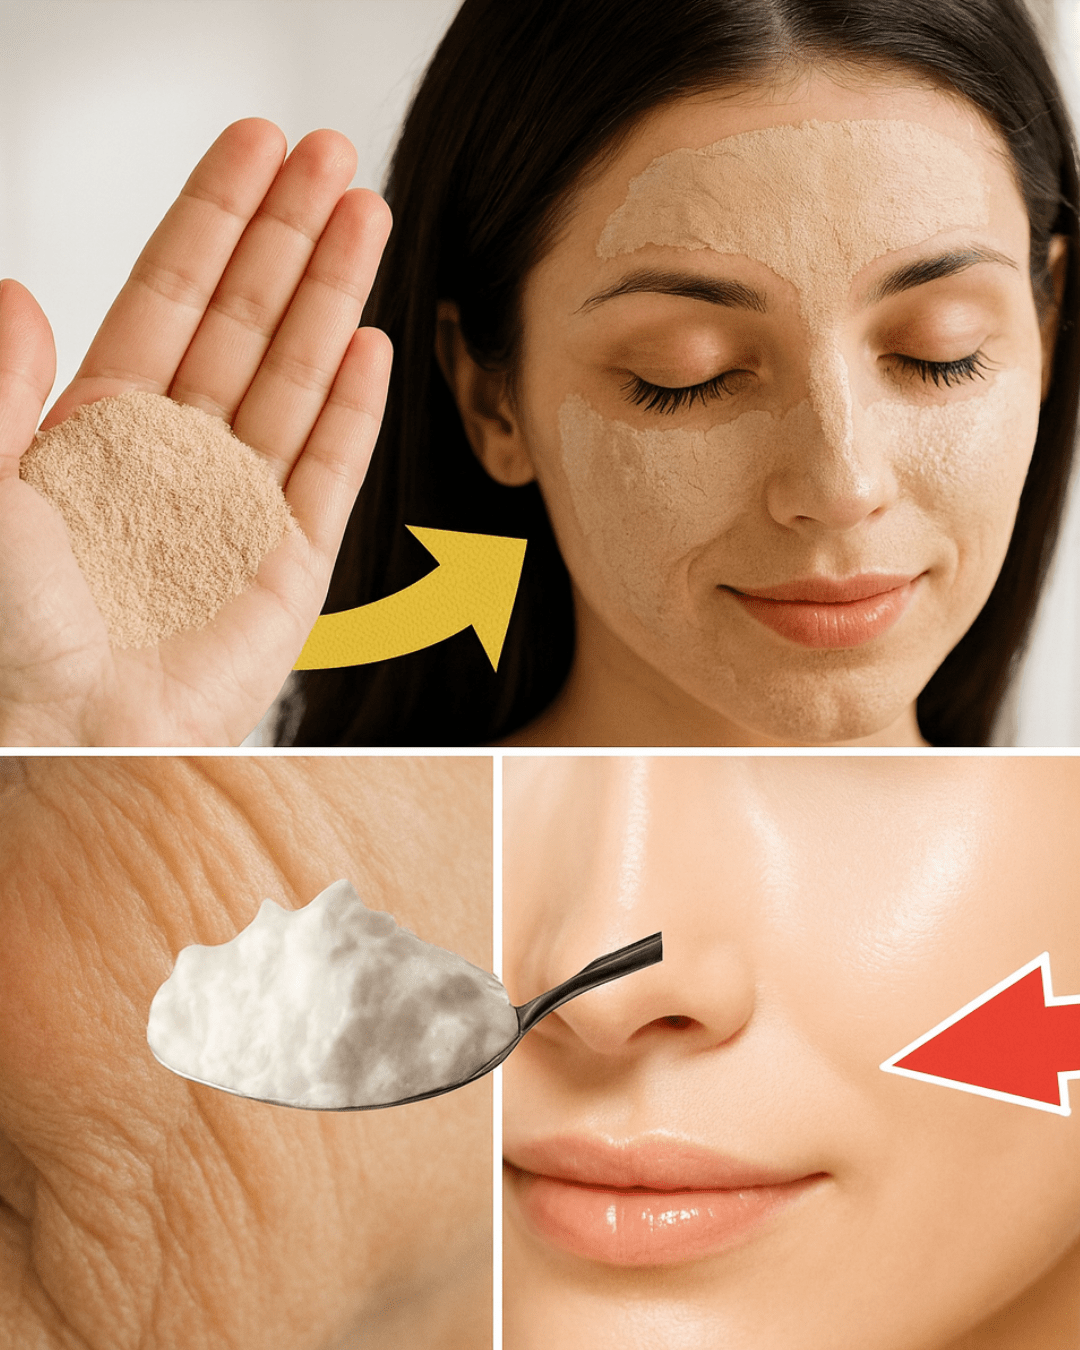
- Gather your ingredients: You’ll need 1 tablespoon of active dry yeast (or fresh if available) and 2 tablespoons of plain, unsweetened yogurt. Opt for full-fat or Greek yogurt for extra creaminess.
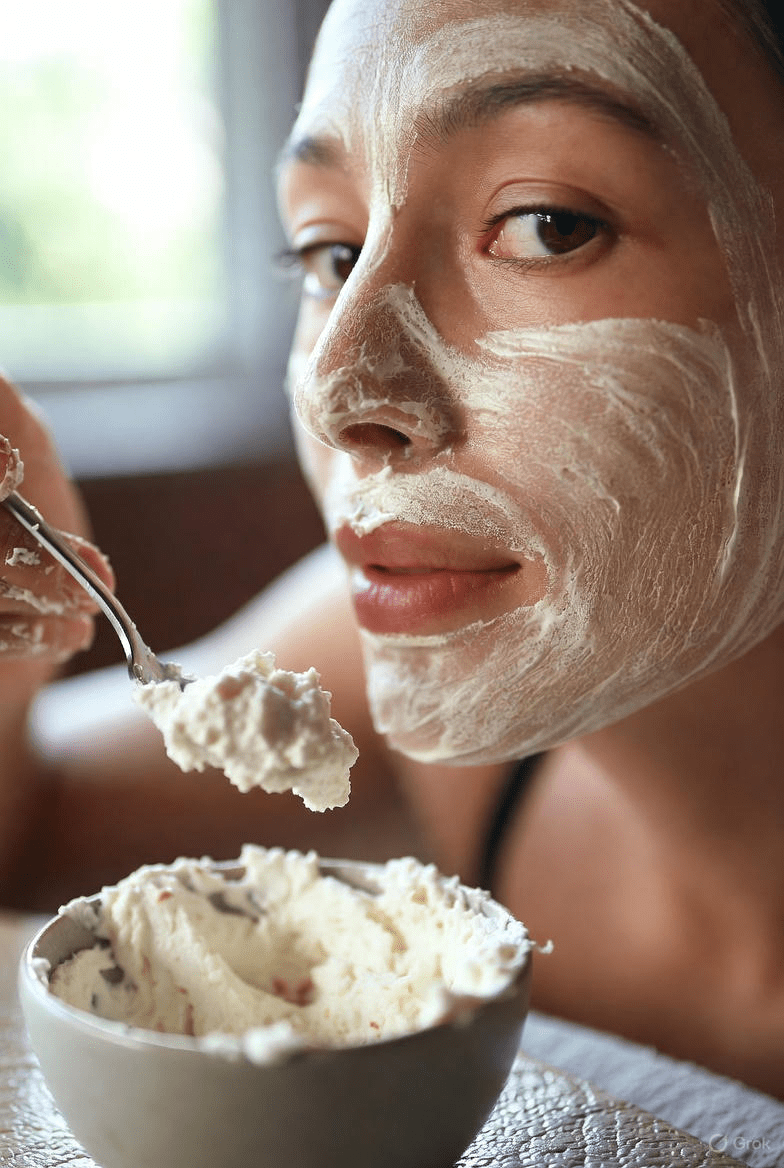
- Mix it up: In a small bowl, combine the yeast and yogurt until you get a smooth paste. If it’s too thick, add a splash of milk or water. Let it sit for 5 minutes—the yeast may activate slightly, creating a fizzy texture that’s normal.
- Prep your skin: Cleanse your face gently with lukewarm water and pat dry. This helps the mask absorb better.
- Apply the mask: Use clean fingers or a brush to spread an even layer over your face and neck, avoiding the eye area. Relax for 15-20 minutes as it works.
- Rinse off: Wash with lukewarm water, then splash with cool water to close pores. Follow with your usual moisturizer.
- Frequency: Start with 1-2 times per week. If your skin loves it, you can increase slightly, but don’t overdo it.
Pro tip: For added nourishment, mix in a teaspoon of honey—it’s a natural humectant that locks in moisture.
This routine is straightforward and relaxing. Many find it leaves their skin feeling refreshed right away.
Additional Tips to Support Smoother-Looking Skin
While the mask can be a nice addition, combining it with daily habits amplifies benefits.
- Stay hydrated: Drink plenty of water to support skin from within.
- Eat nutrient-rich foods: Focus on fruits, veggies, nuts, and omega-3s for natural glow.
- Protect from the sun: Use sunscreen daily to prevent premature changes.
- Gentle cleansing: Avoid harsh soaps that strip natural oils.
Here’s a list of easy add-ons to your mask for variety:
- A drop of olive oil for extra dryness.
- A pinch of turmeric for brightness (use sparingly to avoid staining).
- Honey for soothing properties.
These tweaks keep things interesting and tailored to your needs.
The interesting part? Over weeks of consistent use, you might notice your skin feels more balanced and resilient.
Conclusion
Exploring natural options like a yeast and yogurt face mask can be a fun, gentle way to care for your skin. With nutrients that support hydration, exfoliation, and brightness, it’s no wonder this combo has fans. While it won’t transform your skin overnight, regular use alongside healthy habits may help promote a smoother, more radiant appearance.
Start small, listen to your skin, and enjoy the process. Your complexion might just thank you with that fresh, healthy look you’ve been after.
Frequently Asked Questions
1. How often should I use a yeast and yogurt mask?
Most people do well with 1-2 times per week. If you have sensitive skin, start once and see how it feels.
2. Can this mask help with dry or oily skin?
Yes—yogurt’s lactic acid balances moisture, while yeast supports overall vitality. Adjust with add-ins like oil for dryness or lemon (sparingly) for oiliness.
3. Is it safe for all ages and skin types?
Generally gentle, but patch-test first. Those with yeast allergies or very sensitive skin should consult a professional.
Disclaimer: This article is for informational purposes only and is not medical advice. Natural remedies may not work for everyone, and results vary. Consult a dermatologist for personalized skincare concerns, especially if you have skin conditions. Always perform a patch test before trying new ingredients.
